don’t fly drones here is an interactive map showing areas where you’re not supposed to fly “unmanned aerial vehicles” including airports, military bases and national parks. but as far as i can tell – since it doesn’t technically involve a uav – kite aerial photography is still allowed at national parks but probably not a great idea near military bases and airports. [ via kottke ]
Tag Archives: kite aerial photography
day 3649: finally flying the kite aerial photography rig!
a little over a year ago i thought about getting into kite aerial photography with odin and almost exactly a year ago we beta tested the rig and took frida goes for her first ride in the galaxie 500 in search of the wind. and then we waited. and waited. and waited for a non-stormy windy day when we had the time to fly a kite. turns out that combination of conditions is a rarity! and i started to believe that waiting for the wind was the wrong strategy and we needed to start thinking about heading to windy places.
so we planned ahead and brought the gear on vacation in the upper peninsula of michigan where odds are good we’d find a good breeze coming off lake michigan.
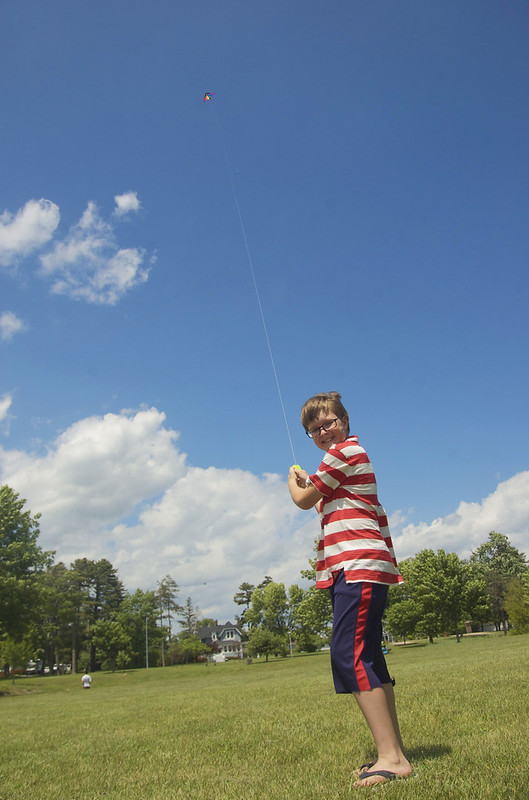
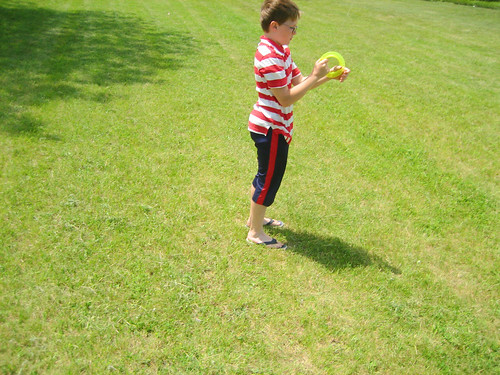
sure enough, just a few hundred feet from where odin and his cousin flew kites for the very first time almost exactly 8 years to the day, we launched the rig into the air.
but first, we tested without the camera attached to see if the breeze seemed strong enough. sure seemed so!
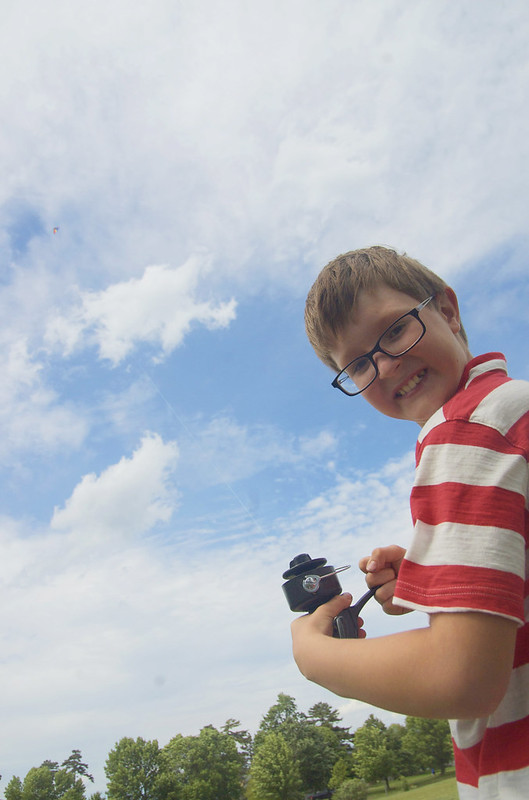
Presently Odin is flying a camera attached to a kite several hundred feet above lake michigan.
— Eric C Snowdeal III (@snowdeal) June 30, 2014
the kite was up for about 10 minutes and took 40 shots and i we got 1 that was perfectly aligned when shooting every 15 seconds. i’m sure there’s probably some sort of optimum to be found between decreasing the time between shots ( and reducing the battery life ) and just leaving the kite up longer.
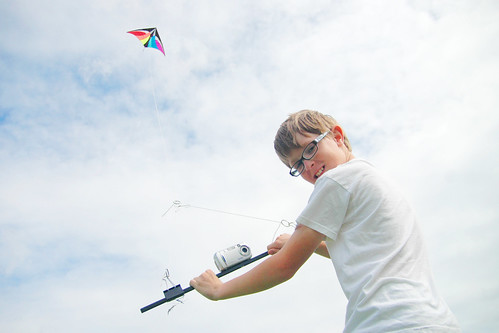
we mounted the canon sd450 running the canon hack development kit onto the kit and using the super simple intervalometer that comes with the stock kit set the camera to take a picture every 15 seconds. i was hoping we’d get into the frame on take off. odin’s feet did 
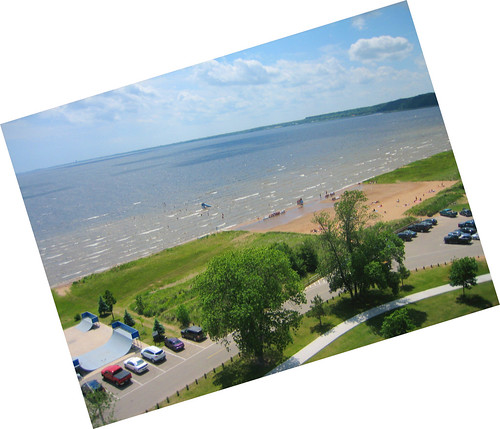
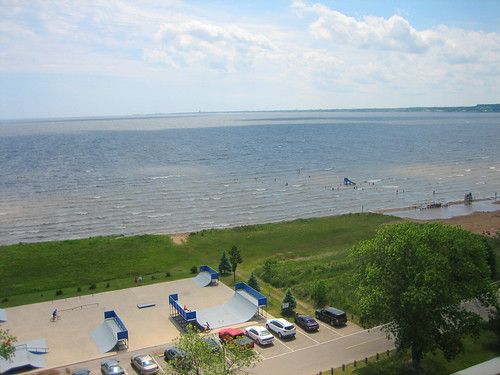
the results turned out awesome! it doesn’t have any fancy stabilization sytem and it was really windy so odds are low that at any given moment the camera is going to be perfectly aligned with the horizon. i think in the future i’ll set the time between shots to a shorter duration to increase the chances if getting aligned with the horizon.
at this point the kite was maybe a 150 feet up with the camera swaying around around 20 feet below. odin and i started thinking how cool it would be to get a much longer line and a reel to make it easier to get the kite higher up and down faster ( yes, that’s foreshadowing ).
the kite was up for about 10 minutes and took 40 shots and i we got 1 that was perfectly aligned when shooting every 15 seconds. i’m sure there’s probably some sort of optimum to be found between decreasing the time between shots ( and reducing the battery life ) and just leaving the kite up longer.
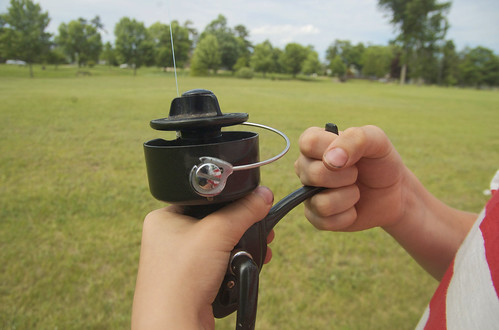
it took a lot of effort in the stiff breeze to bring the kite down with the awkward “reel” that came with the kite. we though surely grandpa must have a old fishing reel! we raced back to the house and of course he did. so we hooked up the kite to the fishing line and went back to the beach.
we tried to let the kite out slowly with the reel but the winds were soooooo strong it just went zzzzzzzzzzzzzzzzzzzzz all out at once – the entire 300 feet or so of line. i thought the reel was going to catch on fire!
and much to our surprise we couldn’t reel it back in as there was too much drag on the line.
what to do?! i thought i could run the line under a picnic table and keep walking backwards until i pulled the kite down. i got about 10 feet before the line snapped and the kite went sailing away out of sight. at that point we were both very happy we decided to test it without the camera attached.
Presently searching for a kite in back yards after wind snapped several hundred yards of fishing line 
— Eric C Snowdeal III (@snowdeal) June 30, 2014
it took about 30 minutes of wandering through people’s back yards before we found the kite. it had floated about 4 blocks away and thankfully landed in in some trees without the fishing line getting tangled in powerlines.
a very nice lady helped us get it out of the tree by giving us a length of gutter that was just long enough to knock it down. i think she really enjoyed hearing about our adventure as we pulled down the kite and yanked the hundreds of feet of line that draped over her house and across the street into the next block.
odin commented that the kite aerial photography rig was a 110% success but maybe we needed to do a little more work on building a better reel. i couldn’t agree more! i thinnk there might be a outdoor kite line reel winder with lock in our future, but what to do until then? surely we must be able to build something from stuff lying around.
frida goes for her first ride in the galaxie 500!
thanks to a long time reader who sent us a canon point and shoot, odin and i have a camera loaded with the canon hack development kit and a script that will shoot continuous interval shots for our kite aerial photography rig! but we’ve been waiting for weeks and weeks for blustery day without storm clouds to fly the kite.
i went on a 13 miles in stiff winds and thought it was finally a perfect day to try it out. odin was at hockey so he wasn’t going to be able to go, but i gathered up the gear frida and i jumped in the galaxie 500 and went racing to a nearby hill.
frida was very happy to go for a ride in the old ford and was particularly intrigued by the colorful kite.
but alas, by the time we made it out to the hill the winds had died down with the late afternoon sun just as we arrived. hi. ho.
i sure hope we get a chance take some shots before the snow flies.
and now i know frida is happy to along for the adventure!
day 3255: beta testing the kite aerial photography rig!
i mentioned i was interested in getting into kite aerial photography with odin so first things first, we needed to build a rig and test it out. as i mentioned in previous post “kite aerial photography 101” rig seemed about my speed – not too complicated and not too expensive and looks like it takes great pictures.
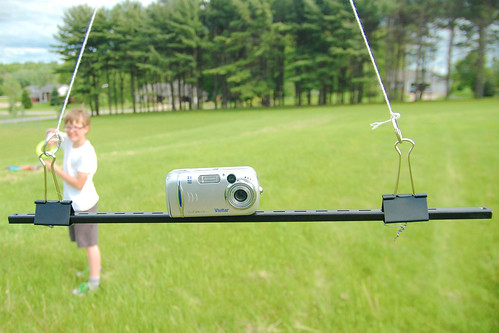
so we built a simple rig out of an 18″ bookshelf bracket, some large clips, a few key rings and string and decided to beta test the setup to see if the kite could generate enough lift with a test camera that didn’t actually work so we wouldn’t feel too bad if we crashed the kite.
but first, we wanted to test the kite with the bracket attached to the kite via about 50 feet of string but without a camera attached.
much to my surprise even with out little 4 foot delta kite – it worked !
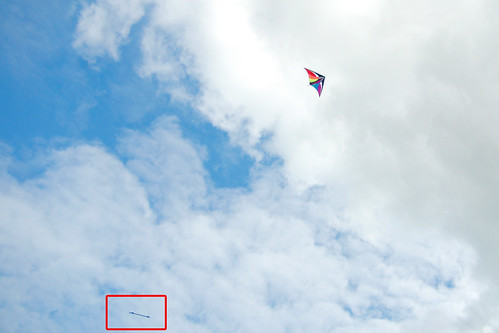
i highlighted the bracket with a red rectangle to make it a little easier to see.
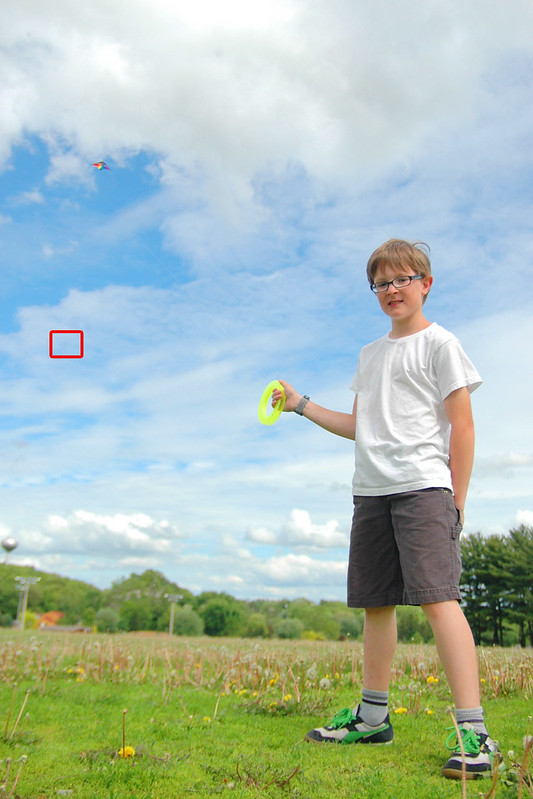
here’s another view of the maiden flight sans camera. letting the bracket swing 50 feet from the kite ( highlighted in red ) i think helps dampen the vibration down the string which is how you’re able to get such good images without complicated set-up but it does make it a little more difficult to get the camera really high up the air when you only have 150 feet of kite string! clearly we need more kite string
then we attached the non-functional camera and shortened the distance between the kite and the camera to around 30 feet to see if the camera/bracket swayed any more erratically than with 50 feet ( it didn’t ). i’m sure when we start taking photos we’ll need to do some experimentation to get the an optimal distance for clear images.
even with the added weight of the camera, the little delta kite generated enough lift to take the camera up in a relatively tame wind. i think the rig we have will be fine for similar sized point and shoot cameras but we’d definitely want a larger kite if we were going to send up a dslr.
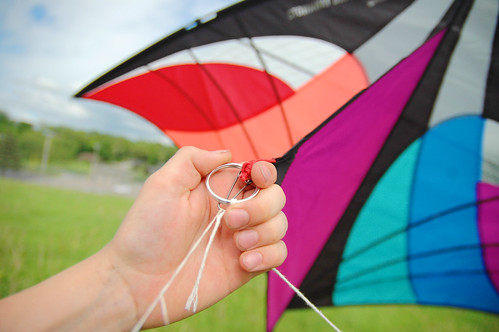
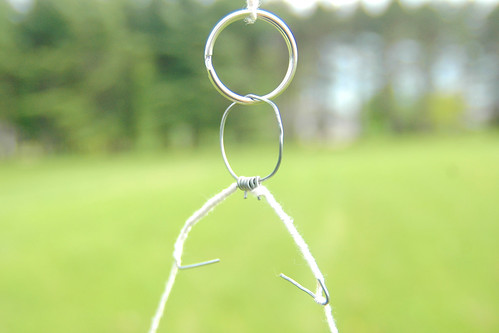
we used a simple key ring to attach the rig to the kite. easy peasy to put on and take off!
the other end of the string that is connected to the kite is attached to a simple hanger fashioned from metal wire with another key ring.
and here’s the business end of the rig which is attached to the hanger. it’s simply a bookshelf bracket with oversized clips attached with a some metal wire twisted through the bracket slots and a few key rings. very, very easy to put together and quite affordable for a test rig.
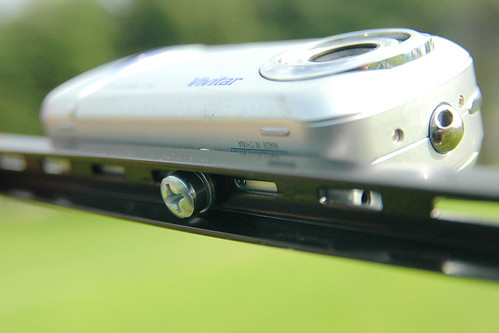
the camera is attached via the tripod mount on the bottom of most cameras with an appropriately sized screw. as you can see, the nice think about the book shelf bracket is that it already comes with slots or attached more cameras
as i mentioned the beta test was with a non-functional camera so we wouldn’t feel too badly if we crashed the kite and ruined the camera. next, i need to find a functioning camera that cheap enough that i still won’t feel too bad about wrecking if we have a crash but that has the ability to take interval shots ( e.g. take a shot every 30 seconds ) which is normally a feature reserved for higher end cameras.
it turns out the canon hack development kit lets you add that feature to just about any canon camera, even an aging point and shoot.
so who has and old canon point and shoot sitting around gathering dust that they’d like to donate to our kite aerial photography adventures?
some of you might be asking why on earth we’re doing this? here’s a great gallery of spectacular kite aerial photos that gives a good flavor of the types of images we’re hoping to capture.
thinking about getting into kite aerial photography with odin.
as if i didn’t have enough to do with building The World’s Most Awesome Treehouse(s), i’m thinking of starting Adventures in kite aerial photography (kap) with odin and trekking around wisconsin and beyond to take awesome photographs.
right now i’m looking for a relatively simple rig to get started. something like this “kite aerial photography 101” seems right up my speed. not too complicated and not too expensive and looks like it takes great pictures.
anyone have any experience with kap and have suggestions for rigs? even better, anyone have a spare rig sitting around?
