Tag Archives: eggs

recipe: bacon wrapped eggs with cheese.

recipe: bacon wrapped eggs with cheese. I.

as soon as i saw this video for bacon wrapped eggs i knew i had to try it. i mean, how possibly could you go wrong with bacon, eggs and cheese? and it’s really simple, as it doesn’t really take much longer to make than regular ol’ bacon and eggs.

first, you brown some bacon ( pssst! organic prairie uncured bacon. ) – but don’t get it crispy! then you place a full strip around the wall of the cup of a muffin tin and a few more bits in the bottom. crack and egg in the cup, sprinkle with a titch of salt and pepper and add your favorite cheese ( today we used organic valley raw sharp cheddar ) on top.

of course, if you wanted to fancy it up you could add some sauteed garlic or chives or whatever strikes your whimsy.

then, place in it a preheated 400°F oven for about 10-15 minutes. how long depends on how thoroughly cooked you want the yolk. i like runnier yolks so i put it in for 10 minutes.

recipe: bacon wrapped eggs with cheese. II.

after a bit, they should come out like so. it might be hard to tell, but two of them don’t have cheese added because, weirdly, odin said he didn’t want any. i swear, sometimes, i wonder if he’s my kid at all.

recipe: bacon wrapped eggs with cheese. III.

part of a complete breakfast! or at least a breakfast complete with spelt bread in an attempt to sort-of abide by my gluten free lifestyle ( spelt gives me less “trouble” than wheat ).

recipe: bacon wrapped eggs with cheese. IV.

bacon wrapped eggs with cheese makes a plate smile 🙂

recipe: egg nests.

recipe: egg nests. I.

since The Girls are always producing eggs and odin loves to help in the kitchen, we’re always looking for fun and simple egg recipes that he can help make. recently, i ran across this recipe for egg nests and thought i’d give it a try.

first, of course, you want some fresh eggs. we have those aplenty.

oh, and preheat the oven to 450°F.

recipe: egg nests. II.

grate some cheese, about a 1/4 cup for every 2 eggs. the recipe calls for gruyere, which i used, but there’s no reason you couldn’t substitute something else to your liking.

recipe: egg nests. III.

separate the egg yolks from the whites. put the whites in a mixing bowl and the yolks in individual bowls to help you later on when you have to place them carefully in their nest.

recipe: egg nests. IV.

whip the egg white with a quarter teaspoon of salt until stiff. i might have overwhipped these whites, but whatever.

recipe: egg nests. V.

gently fold the cheese into the egg whites, being careful to not collapse the whipped goodness.

recipe: egg nests. VI.

create little mounds of the egg white mixture on a baking sheet lined with parchment paper. you want the mounds shaped like nests so they can hold the yolk, so be sure to make indentations in the center.

recipe: egg nests. VII.

put the egg white nests in the oven for about 3 minutes and then pull out the tray and carefully add an egg yolk to the center of each nest.

recipe: egg nests. VIII.

put the baking sheet back in the oven for about 3 more minutes and prepare yourself for eggy cheesy goodness! they are quite tasty but obviously only for going to be enjoyed by those who like “runny” yolks.

truth be told, i probably over browned these whites just a titch. be warned, they brown fast! but i don’t think it affected the flavor.

how to store fresh eggs.

how to store fresh eggs.

now that we have plenty of Gifts from The Girls, the obvious question is how to best store the eggs?

farm fresh eggs come with a protein coating called the bloom which seals the egg and protects it from going bad from bacterial contamination. supermarket eggs are washed which removes the bloom and forces refrigeration. but just how long can unwashed eggs remain edible without refrigeration?

we’ve heard anectodes from folks with backyard hens who claim 3-4 months! i’m not sure who would ever have the tasty gifts sitting around that long, but a 1977 study from mother earth news, “How To Store Fresh Eggs” seems to corroborate the anectode. according to the article unrefrigerated, unwashed farm eggs were still edible after 12 weeks, although they note that, “If we’d had our druthers, understand, we’d have eaten something else … but, under survival conditions, we could have lived on the completely unprotected 90-day-old eggs if we’d have had to.”

according to the study, an unwashed clean egg placed under refrigeration shortly after being laid can stay fresh for up to six months or more!

so, as strange as it might sound to folks used to fretting about how long eggs have been out of the fridge, keeping clean fresh, unwashed eggs unrefrigerated for a few months seems entirely plausible.

we don’t keep them around that long, but we do tend to have them out of the fridge for a few days before sending our surplus to happy homes and consuming the rest within 7-10 days of being laid.

the inevitable egg with a bit of manure is a little more problematic. washing it will remove the protection of the bloom, so any soiled eggs are handled with care and common sense. don’t put heavily manured eggs in fridge with other food and, as this article states, “Do not immerse your eggs in a sink full of water. The bloom is removed leaving the eggs surrounded by water that contains manure. I think you can see the problem here.”

how to make the perfect hard boiled fresh egg.


one of peculiarities of having fresh eggs from backyard hens is that the shells are really, really hard and the membrane between the shell and whites is firmly attached to both after cooking which can lead much frustration when trying to make a when you hard boiled egg or egg salad sandwich since you spend your time picking away pieces of shell only to remove large chunks of the egg whites that are stuck to the membrane. no fun!

this is actually one of the better looking examples of a hard boiled egg using our normal method of cooking – put the egg in water, heat to a boil, cook for seven minutes after boiling begins and rinse in cold water. there must be a better way.

we polled various friends who have backyard birds and got a range of responses. the most common was to set eggs aside for a week or two ( plausible suggestion but seemed a pain to have to segregate eggs ). anothers suggested dunking the eggs in ice water after boiling ( we tried that, it didn’t work ) and others suggested adding a bit of vinegar to the boiling water to soften the shell ( didn’t like the idea of having to remember to add vingar and wondered if it would affect the taste ).

one person said the answer was stupendously simple. drop the eggs in the water after it had started to boil. it was so simple we had to try it.


first, drop the eggs carefully into boiling water.


boil for 6 minutes or so.


don’t rinse in cold water – let cool in ambient air for 10 minutes ( presumably the membrane is still cooking/breaking down ).


well look at that! a nice, clean peel! if you look closely, the membrane has cleanly separated from the shell and the egg white. amazingly simple!


after 6-ish minutes in boiling water the egg yolk is best described as “soft-boiled”. while this is perfectly cooked to my taste, if you like hard yolks, you might want to cook for a minute longer.


mince with a fork, add a little organic mayonnaise and celery salt and you’ve got yourself The World’s Best Egg Salad Sandwich.

yum!

on the effects of light on egg production and timing.


you might recall that a few months ago we were wondering whether or not we should light the chicken coop to maintain egg production from The Girls over the winter. eventually, we decided to light the coop for a hours if only to try to train them to lay in the morning before we leave for work so we can collect eggs before they freeze in the cold of winter. the theory being that hens will supposedly lay within a few hours of “day break”. if we have the light timer turn on a couple of hours before we leave for work, we hope that most of the The Girls will have laid Their Gifts by the time we leave. any effects on production would be a bonus.

so far, the production results have been great. we’ve heard from several families with backyard hen flocks twice the size of ours who are averaging and egg a day! we’re averaging seven eggs a day from eight hens which is just about the maximum you can expect.

but i can’t say we’ve trained them to lay before we leave for work. or at least not all of them. we’re tracking egg laying times and on a good day we get about half our eggs by 8 am and the other half by noon. it seems like they might be laying earlier and earlier as they get older but it’s hard to tell for sure.

with winter setting in, hopefully they’ll all get to laying by 8 am so we don’t end up with a buch of frozen eggs ( you can eat them after they’re frozen but they’re not as tasty )!

recipe: eggnog pots-de-creme!


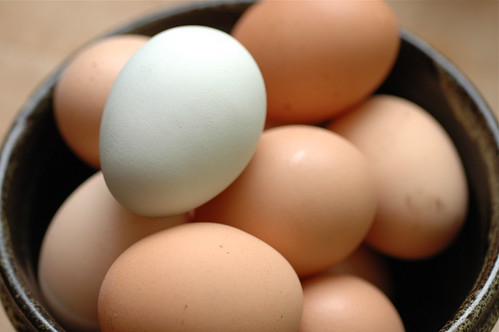
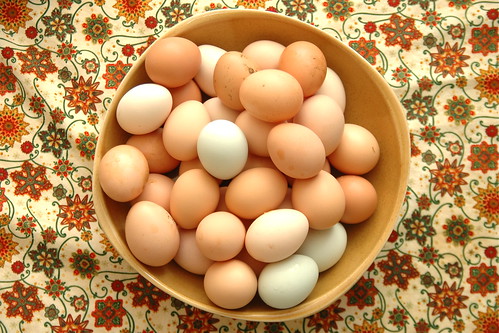
it’s eggnog season, which means i’m on the lookout to find new things to do with our super tasty organic valley eggnog. of course, anything that helps us with our egg surplus is an added bonus. so i was mighty pleased to see a recipe for eggnog pots de creme from sofya hundt ( you can also find her twittering away at @gunsnbutterblog ).

how could i not try her twist on the traditional pots de creme by using eggnog ( and organic valley eggnog to boot! )?


i doubled sofya’s recipe, so i started by adding a couple of tablespoons of sugar to 3 cups of eggnog. mix the sugar in and then heat on medium until bubbles start forming.


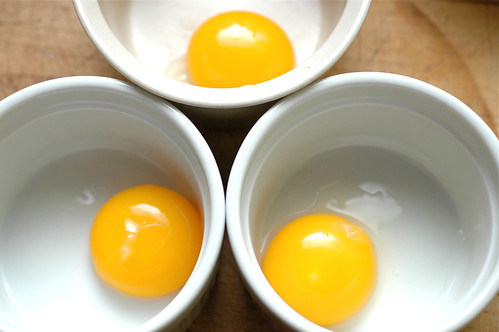
whisk six egg yolks until smooth. i’m pretty sure the incredibly orange yolks from eggs laid by The Girls just this morning isn’t going to translate well on the web. take my word for it, they are orangetastic!

drizzle the hot eggnog mix slowly in with the eggs, whisking like mad as you go.


then pour the mixture into individual ramekins through a fine-mesh sieve. sofya says the sieve step is really important to ensure a smooth custard. put the ramekins in a baking dish filled with warm water to about half the ramekin height and bake in a 325 degree oven for 25 minutes until the custards are set.

after i took this photo i realized i forgot to sprinkle some nutmeg on top of the custards – don’t forget the nutmeg!


for whatever reason, i found i had to bake them for 40 minutes. maybe i overfilled the ramekins? in any case, after awhile pull the custardy eggnogy goodness from the oven, remove from the water bath and let cool to room temperature. then chill in fridge for a couple hours to allow the custards to firm up.

which is where the custards now reside. firming in the fridge. we’ll have them for dessert tomorrow – if i can wait that long! they look so tasty i almost can’t stand it.


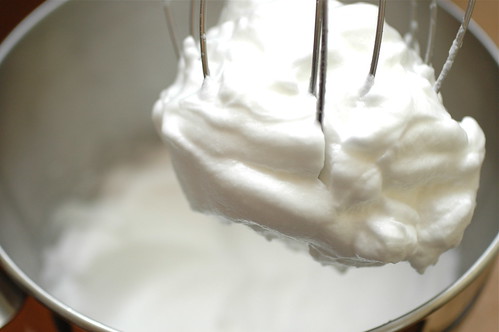
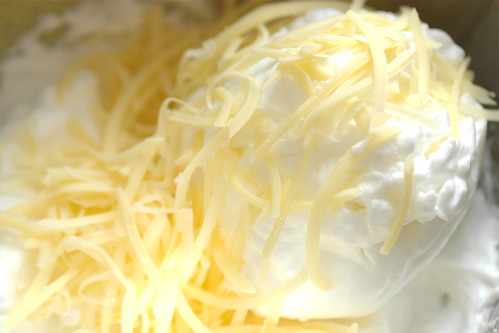
after letting the custards set in the fridge covered overnight was finally time to dig in! i made some whipped topping by mixing a tablespoon or so of sugar and a smidge of vanilla in a pint of organic valley heavy whipping cream and whisked in a bowl until firm peaks started to form.

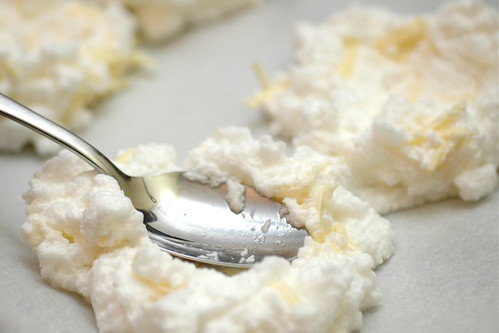
finally, i plopped a generous helping of the whipped goodness on top of the custards and sprinkled a bit of nutmeg on top.

i must say the final creation looked almost too good to eat!


true to the traditional pots de creme form, the final result is looser than your typical custards and has a texture more like a thick pudding.

and the taste? oh. mah. gawd. sofya wasn’t kidding around when she wrote, “You won’t believe how good it is!


after being forced to way a whole twenty four hours, odin was, of course, mighty keen to partake in a taste test and render his verdict.

after a long, savory pause, “oooooooooooooohhhhhhh mmmmmmyyyyyyyyyyy this is sssssssooooooooo goooooooooood i can almost not speak!”

nearly rendering odin speachless is as good a review as i could ever ask for.