it’s hard to believe but it’s been about 16 weeks since Odin’s Adventures with Backyard Chickens began which means they coul start laying in the next couple of weeks ( depending on the breed, hens can start laying at 20-24 weeks, although some have been known to start at 16 weeks ) which means i have to build some “nesting boxes” to attach to the coop to give them a dry, clean spot to lay their eggs.
we designed the coop with external nesting boxes in mind so we could simply lift a lid and grab the eggs without having to enter the coop. but right as i was going to start building the boxes, someone within external nesting boxes told me they have problems with frozen eggs in the winter. it seems that it doesn’t take long freezing air circulating around uninsulated boxes to turn them into eggsicles!
d’oh!
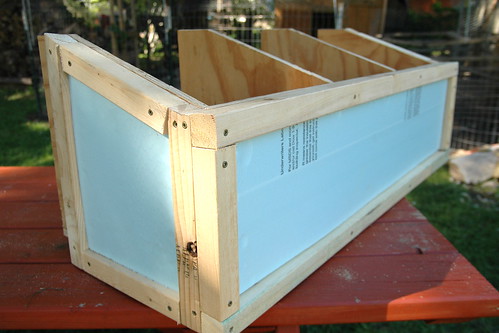
after a quick search i found a design for a nesting boxes for a “chicken mcmansion” that included a few inches of insulation on the walls and lid and decided to follow his lead by framing out the plywood sides with 2x2s and fitting in some 1″ foam insulation.
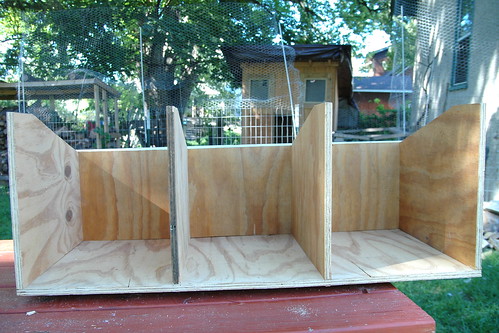
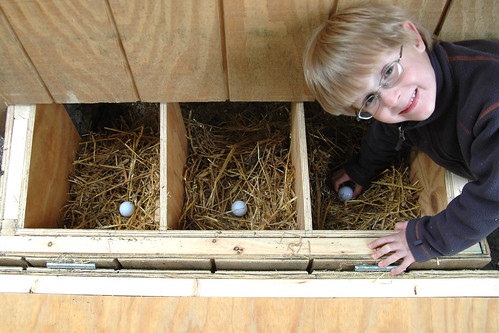
the general rule of thumb is about 1 box for every 3 or 4 birds which means 3 boxes should be plenty for our flock of 8 birds. the boxes about 12″x12″ which is a fairly standard size for backyard birds.

here’s a close-up of the corner after the external siding was nailed over the insulation and 2×2 frames. all things considered, everything came together nicely, although i would later discover that the “lip” created by the 2×2 would create a bit of challenge on making a snug fitting lid, all the moreso because my jigsaw is broken.

after building the nesting boxes, i had to remove the siding from the coopand cut out a portion of a 2×4 stud to make space for the box to be inserted flush with the wall. but how to removed the nails that held in the stud?
any day i get to use my dremel cutting tool is a good day 
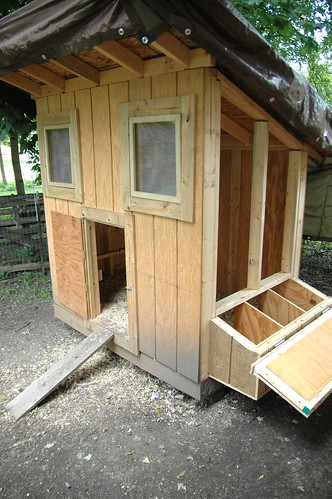
after some huffing and puffing, i got the nesting boxes secured to the side of the coop. the fit was almost a little too snug but nothing a little cursing and banging with a hammer couldn’t fix 
and, yes, i still need to put some shingles on the roof which is why the coop is covered with a tarp. so much to do and so little time.
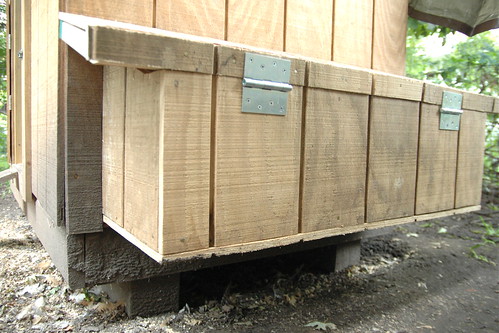
here’s the nesting box and coop after cutting out a hole in the siding and nailing it up, which was a measure thrice and cut once job. it was a little tricky to cut the siding and not leave more than an 1/8th inch gap around the box but it all came together nicely!
well, all except for the one flaw that you can see if you look closely. nothing a little trim can’t fix 
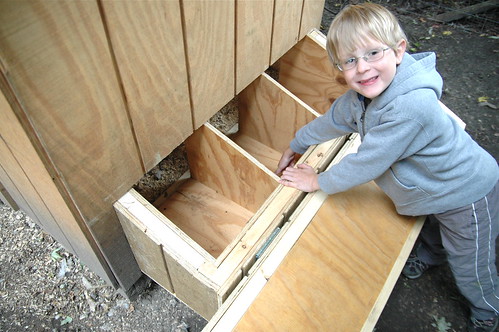
and finally odin gets a chance to test swinging open the lid and reaching into the box to see if he could reach the bottom of the boxes to grab the eggs.
he could, which is A Good Thing since he’ll be running out at 6 in the morning in the winter every day to do just that!
