Tag Archives: diy

day 2608: the family that paints together…

day 2608: the family that paints together... I.

The Great De-Pinkification, continues

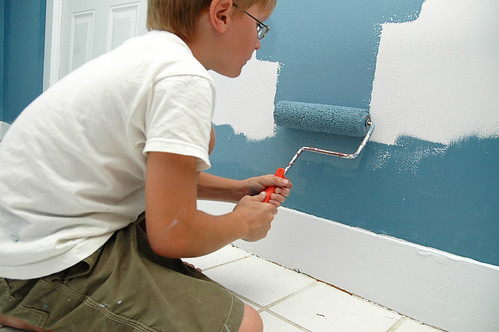
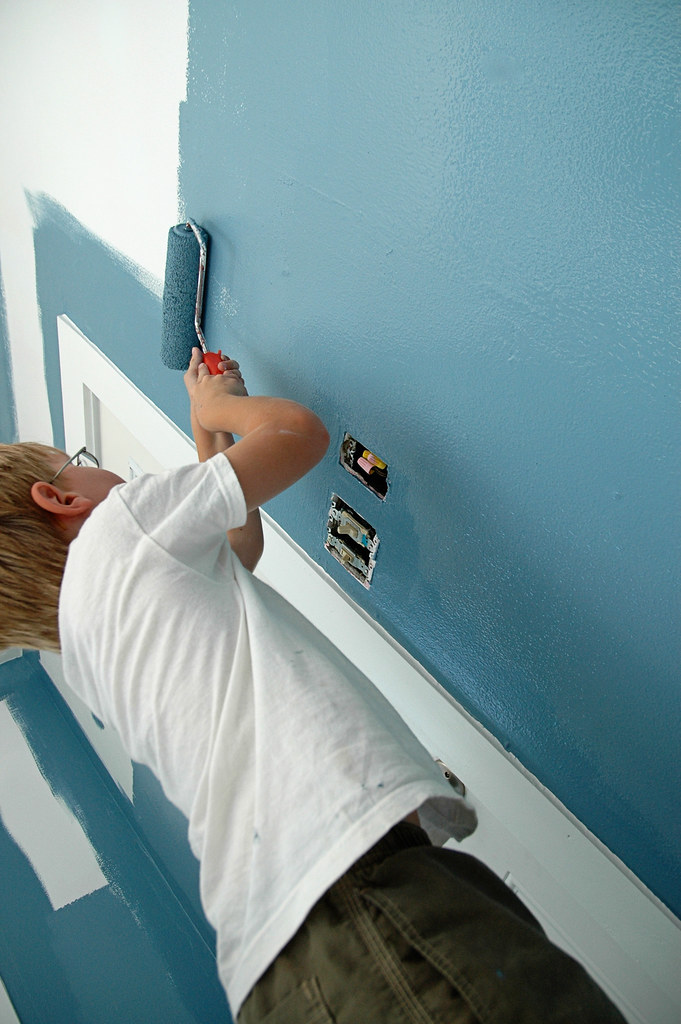
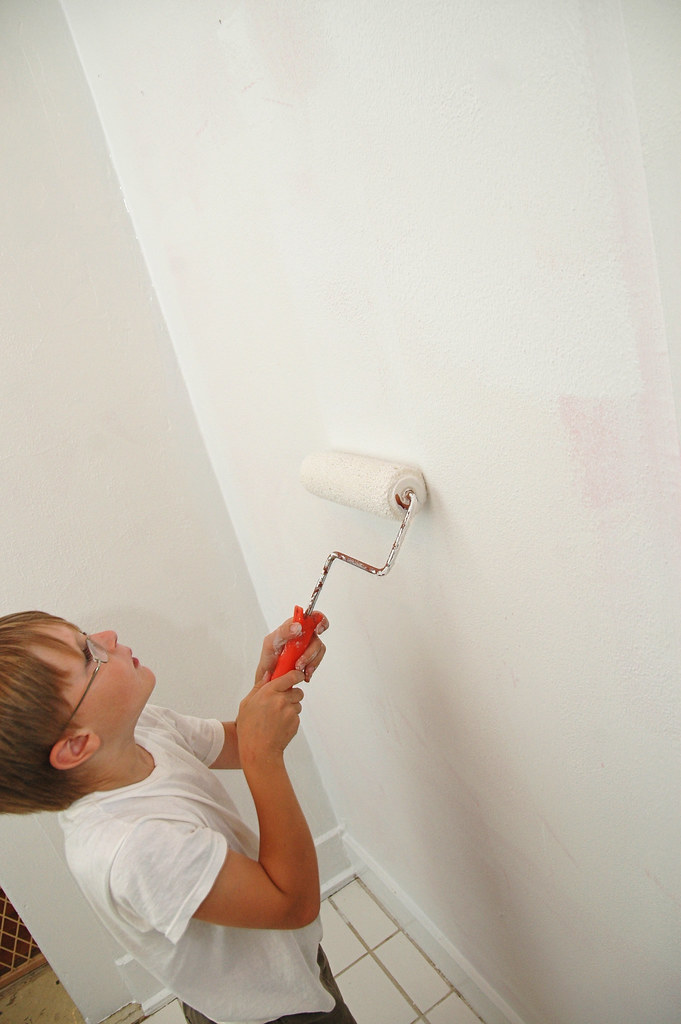
we actually have a pretty good system worked out that saves my back from too much abuse. kris cuts in the trim on the floor, i cut in the ceiling and high parts she can’t reach, odin rolls in the bottom half and i do the top.

day 2608: the family that paints together... II.

now that we all have our specialized “finisher” roles – maybe we should start a painting company, “three snowdeals and a ladder”.

so long, prettiest in pink mud room.

so long, prettiest in pink mud room.

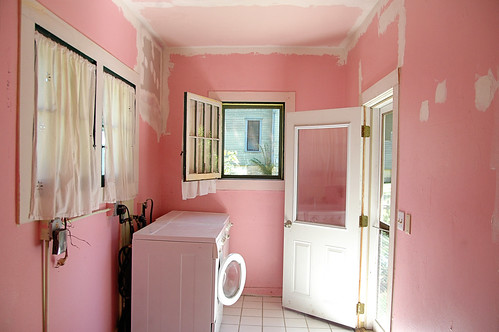
soon, finally, the prettiest in pink mudroom will be no more! i would have never guessed we’d live for five years with another home owners color preference.

i made short work of the hole in the corner with some spray foam, drywall and lots of joint compound (i think sprayfoam might be the duct tape of aging home repair ). inelegant, but it’ll last until we get around to doing it right.

also, much replastering of corners and cracks and whatnot.

whenever i do plaster work ( and i’ve done a loooooooot of it ), i always wonder what happens to the plaster particles that end up in my lungs. probably totally safe, right?

now, what color to go with…

DIY rocket repair!

DIY rocket repair! I.

odin got a Scientific Explorer’s Meteor Rocket Science Kit for his birthday ( editor: i’m so far behind in posting stories that i haven’t even posted the assembly and inaugural launch video on his birthday! soon! ) which is a kit version of a “baking soda and vinegar” rocket. even though there are lots of DIY plans all over the internet, and i think i recall making one myself a long time ago, i decided the box looked cool ( usually a bad choice ) and made an impulse birthday purchase without checking the amazon reviews first ( d’oh! ).

perhaps unsurprisingly, the rocket is a bit flim-flammy ( a fact highlighted in many an amazon review ) and after it’s first solid launch ( after 14 not-so-solid attempts ) it landed in a tree and broke two of its three seemingly-intended-to-be-disposable balsa wood fins broke!

time for a little DIY rocket repair.

DIY rocket repair! II.

i’ll admit that i love doing these sorts of repairs because it’s a great opportunity to visit our local hardware store with odin and attempt to come up with A Solution from found parts while wandering the aisles. after some debate about the best option while considering weight, stability and cost we decided to get some thin, light tin flashing that we could glue on the balsa fins.

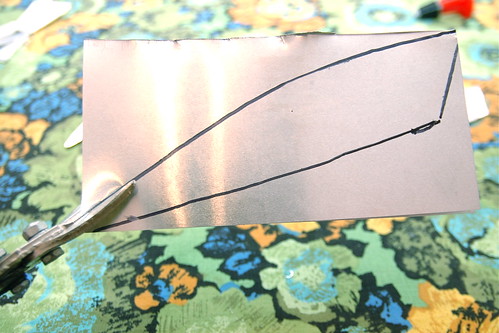
first, of course, you need to trace out the fin on the flashing ( note, the original balsa fins had useless silvery mylar-like material on them ).

DIY rocket repair! III.

i always knew the tin snips would come in handy someday!

DIY rocket repair! IV.

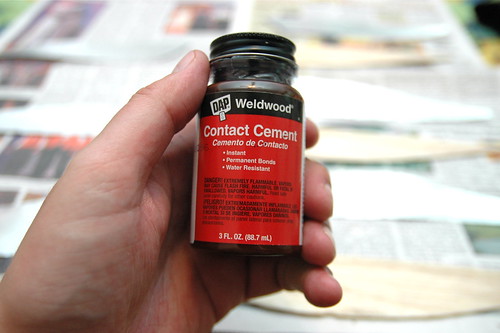
next i applied a thin coat of contact cement ( wow. use in a well-ventilated area! ) to one side of the balsa wood fin and one side of the tin fin, waited 15 minutes or so and carefully pressed them together. man, that contact cement is strong stuff. you only get one chance to get it right!

repeat for the other side of the fin.

DIY rocket repair! V.

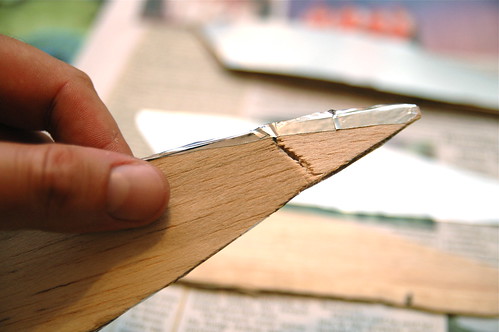
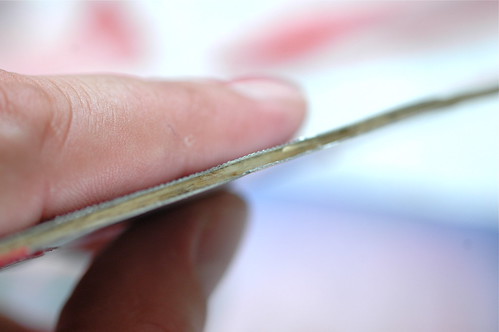
a balsa wood sandwich!

the fin is just a titch heavier but not much in terms fo the overall weight of the rocket. after the glue set it was clear that it was not coming apart and would stand up to lots of abuse. much better!

but what to do about that sharp tin edge? why a little duct tape, of course!

DIY rocket repair! VI.

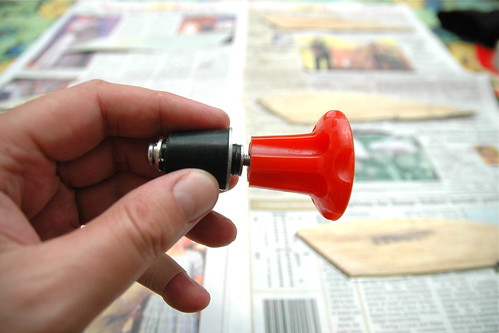
while we were repairing the fins we also thought we’d improve on the design of the stopper which fits in the business end of the pop bottle. you insert the stopper and crank down on the red thing a few times which makes the stopper more squat, increases the resistance, and prevents premature ejection ( thus allowing gas from the baking soda and vinegar reaction to build up with explosive results ).

the problem is the fancy red plastic thing quickly became stripped, preventing you from really cranking down on it and, therefore, preventing a super stellar launch.

DIY rocket repair! VII.

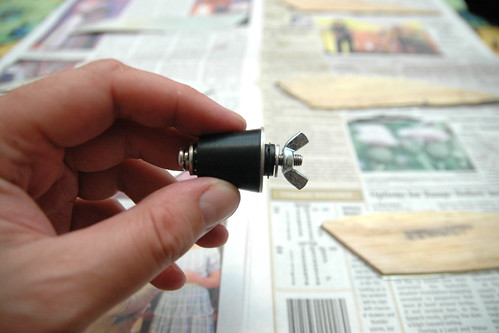
The Solution? a 19 cent wingnut!

DIY rocket repair! VIII.

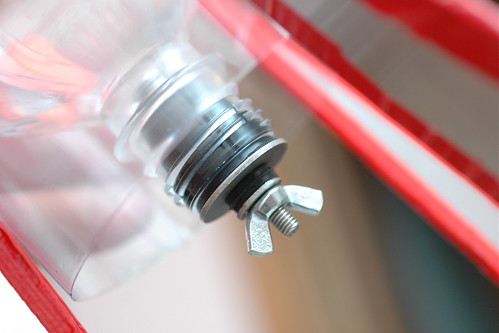
[ insert gratuitous macro shot of new and improved stopper assembly here ]

DIY rocket repair! IX.

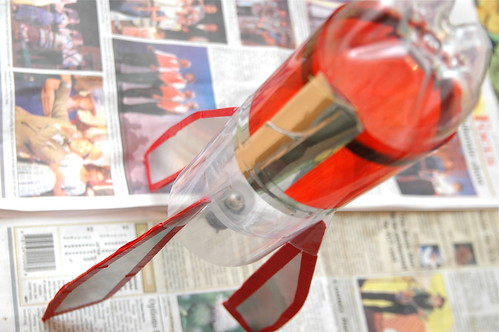
refurbed and ready for lift-off! note the color coordinated duct tape. a nice touch i think 🙂

unfortunately we ran out of time to actually launch the the rocket – so stay tuned!

how do you remove a critter from an inaccessible section of a roof?


kris heard something shuffling around the ceiling of our “mud room” and, sure enough, upon further investigation of the back of the house it appears that a critter has destroyed a section of weather damaged wooden soffit and made made a home in the airspace of the flat roof above the room which, inconveniently, is inaccessible by any normal means.

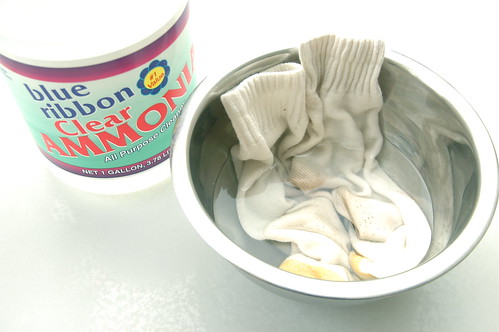
i vaguely recall squirrels don’t like the smell of ammonia so i thought i’d try soaking some old socks in the nasty smelling stuff even though a googling seems inconclusive regarding it’s effect as an a deterrent. and i guess even if i put some sopping socks up in the hole, i’ll have a hard time knowing if any and all critters have vacated before patching up the holes.

so, how do i force the critter(s) out ( assuming the ammonia doesn’t work ) and guarantee they’re all gone before patching up the hold?


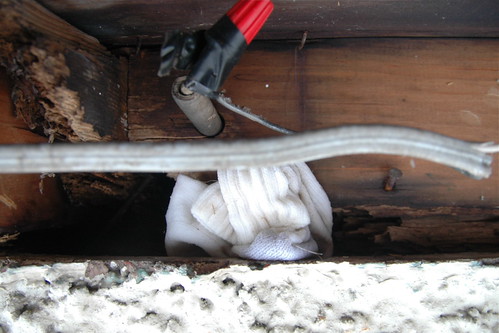
after removing the soffit i could clearly see that critter had chewed through the structural support leading to the airspace between the ceiling and the roof ( as you can see, there’s also some wiring from what was presumably an above-ground electrical line running from the house to the garage ). curiously, it doesn’t look like a new hole. regardless, it looks big enough for a squirrel but not large enough for a raccoon or an opossum.

assuming it’s not a large-ish animal that could do a lot of damage trying to get out, i suppose i could just cover up the hole and let it die slowly and inhumanely. but that doesn’t seem right.

what to do?

how i learned to stop fearing and start loving stripped screws.


last week i spilled a glass of water on the butcher block next to stove which somehow shorted the “meat probe” wiring and rendered the oven non-functional.

even though this site doesn’t recommending fixing it yourself, i thought it was worth a try. i mean, how hard could it be to take the side of the stove off and repair the wiring?

turns out, you have to take the top of the stove off before you can take the side off and before you can take the top off you have to remove the burners which are attached with torx screws. and one of the torx was so corroded from one too many boiled over pots of water that i couldn’t remove it.

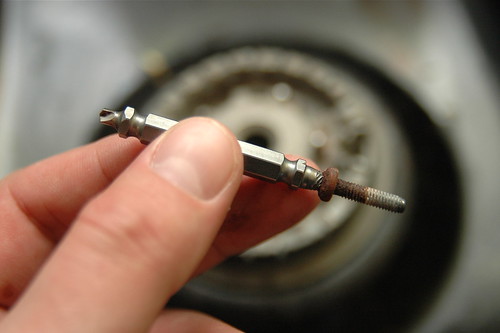
what to do? a quick googling of “how to remove a stripped torx screw” revealed this handy video showing how to use a “screw extractor” and it turns out the fine folks at our local hardware store had a “grabit” extractor in stock for the low, low price of $13.

after years of fearing stripped screws on home projects, could it really be just that easy to remove them? why yes, it is.

just use the drilling end of the tool to give the extractor end something to grip on to and you’re in business. easy peasy. i have no idea how i made this long without knowing such a tool existed.

The Mysteriously Impervious Material in the cedar closet.


in a testament to my powers of procrastination, for – oh – about five years since we moved in, i’ve been thinking about putting shelves in a closet in our 100 year old house that was, curiously, lacking any. it’s a big space, about 9 feet long and 2 feet deep, and installing shelves could cure The Clutter Problem that continues to plague us. such a simple project! why had it taken me so long to just drill some holes and hang the shelves?

it never once occurred to me to ask why prior home owners had never installed shelves.

the answer quickly revealed itself when i tried to drill holes in the cedar to install screw anchors. after boring quickly through the wood, the bit immediately stopped against something very, very solid. i thought maybe the drill bit was dull so i went to our local hardware store and purchased a shiny, new titanium bit that advertised itself as being good for all materials except metal.

nothing. no amount of pushing, pounding or tapping could get the drill to make the slightest bit of progress. so, using Impeccable Powers of Logic, i went back to the hardware store i went to buy a special masonry bit on the assumption that if the titanium bit wasn’t working that i must be working against some sort of concrete or brick. our house has a stucco exterior and plaster interior walls so brick or concrete under the cedar would be a bit of a mystery, but sometimes 100 year old houses like to keep secrets.

since i learned long ago that there’s nothing that can’t be helped with an extra helping of elbow grease, i really leaned into the masonry bit with great gusto while drilling at high speed. but despite all my huffing and sweating and cursing i managed to produce nothing more than curious wisps of smoke around the cedar hole.

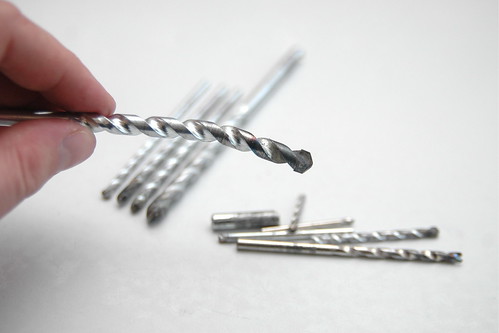
and eventually i managed to simultaneously break the 5/16″ masonry bit shaft and bend the end of the bit. not that’s talent. i took it back to the fine folks at nelson’s agri-center and they were so impressed they gave me a free replacement, though it was a headscratcher for the Nice Man behind the service counter. “you sure you ain’t trying to drill through metal? i’ve never seen a burnt and bent masonry bit. maybe try starting small and work your way up to 5/16ths.”

so armed with a variety of masonry bits i went home and started small with an 1/8th inch bit. which promptly snapped after i applied too much pressure and let it get too hot.

eventually after a few more trips to the hardware store i finally discovered the secret to penetrating the impervious mystery material – go slow, don’t apply too much pressure, don’t the bit get too hot and work slowly up through 4 bit sizes from 1/8th to 5/16th. patience is the key.
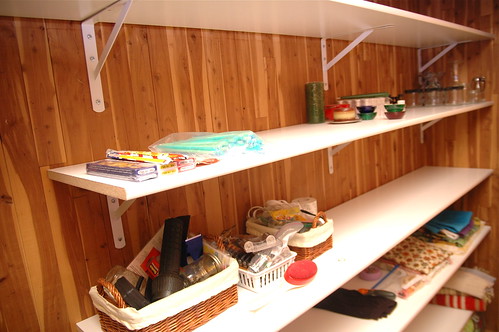


success! finally! nearly 50 square feet of shelving where there had been none. now i just need to come up with some sort of organizational system for the shelves. and a door for the 92 inch opening. ah, the joys of never ending projects.
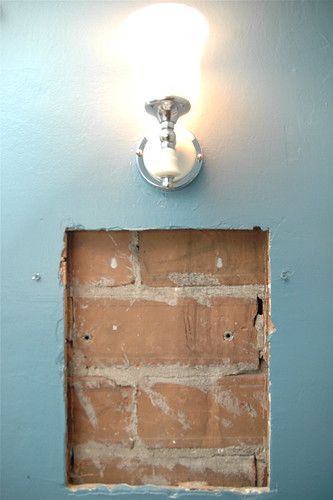


the mystery still remains, though, as to the true nature of The Mysteriously Impervious Material. the cedar closet is in room that was an addition to house at some point after the original construction and it’s built on what would have been an exterior wall. all interior walls are plaster, but on a previous project when i was installing a new light in our bathroom, i discovered a hole under vanity on the exterior-facing interior wall. i was surprised to find over-sized bricks, right under the plaster and lathe.

i assume all the exterior walls are brick? perhaps the owners just put cedar over the brick in the closet and didn’t even bother putting up plaster? was our house originally brick and stuccoed over later? or is this some sort of special Magically Impervious Stucco Brick?