Tag Archives: repair

need to get by with a little help from my DIY friends.

need to get by with a little help from my DIY friends.

so, i started what i thought was a little repair in the “mud room” and, as i’ve become accustomed to with a 100 year old house, it has turned into a much larger repair!

the drywall tape was starting to come apart in the corner of room and once i got up there i realized the whole corner could move quite a bit! once i started tearing it apart i realized someone had just put up flim flamy piece of plywood nailed to what was left of the decaying plaster and lath, covered it with a section of drywall and taped it all in.

i guess it was relatively secure until the tape started giving way over the years, which is to be expected since the mud room is attached to the main house, but “floats” on the ground. with the seasonal freezing and thawing cycle the whole room can shift and settle quite a bit ( insert rant about attaching “floating” additions in northern climes ).

the “daylight” is the easy fix with a judicious application of spray foam and eventually a little stucco work on the outside.

i can see why they did what they did since there doesn’t seem to be a corner “stud” to properly anchor a section of cement board under the drywall.

any home improvement DIY gurus have any suggestions?

and, yes, the room is pink. even though it’s the prettiest mudroom in town ( and is on the list to be painted after we finish the repairs ).

DIY rocket repair!

DIY rocket repair! I.

odin got a Scientific Explorer’s Meteor Rocket Science Kit for his birthday ( editor: i’m so far behind in posting stories that i haven’t even posted the assembly and inaugural launch video on his birthday! soon! ) which is a kit version of a “baking soda and vinegar” rocket. even though there are lots of DIY plans all over the internet, and i think i recall making one myself a long time ago, i decided the box looked cool ( usually a bad choice ) and made an impulse birthday purchase without checking the amazon reviews first ( d’oh! ).

perhaps unsurprisingly, the rocket is a bit flim-flammy ( a fact highlighted in many an amazon review ) and after it’s first solid launch ( after 14 not-so-solid attempts ) it landed in a tree and broke two of its three seemingly-intended-to-be-disposable balsa wood fins broke!

time for a little DIY rocket repair.

DIY rocket repair! II.

i’ll admit that i love doing these sorts of repairs because it’s a great opportunity to visit our local hardware store with odin and attempt to come up with A Solution from found parts while wandering the aisles. after some debate about the best option while considering weight, stability and cost we decided to get some thin, light tin flashing that we could glue on the balsa fins.

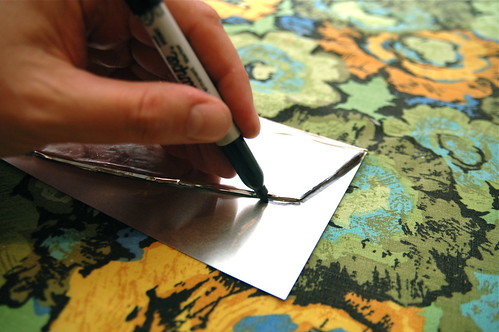
first, of course, you need to trace out the fin on the flashing ( note, the original balsa fins had useless silvery mylar-like material on them ).

DIY rocket repair! III.

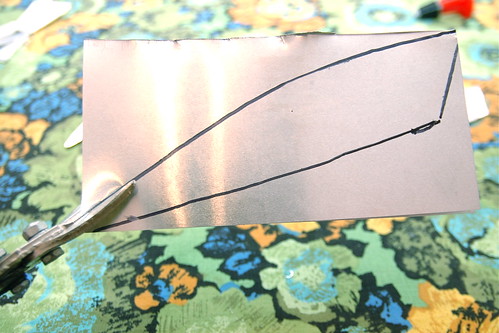
i always knew the tin snips would come in handy someday!

DIY rocket repair! IV.

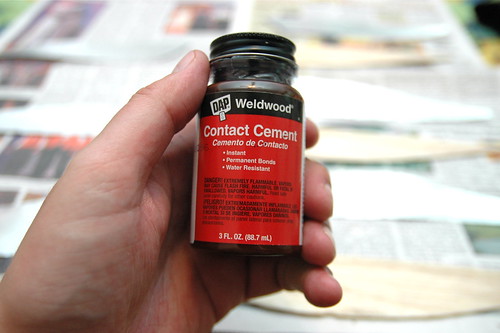
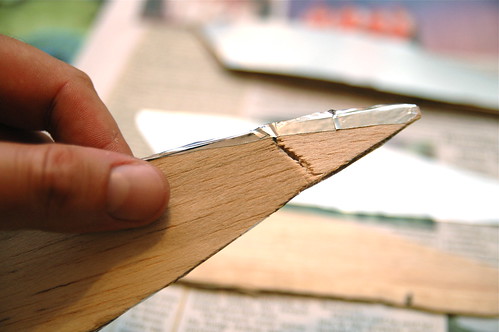
next i applied a thin coat of contact cement ( wow. use in a well-ventilated area! ) to one side of the balsa wood fin and one side of the tin fin, waited 15 minutes or so and carefully pressed them together. man, that contact cement is strong stuff. you only get one chance to get it right!

repeat for the other side of the fin.

DIY rocket repair! V.

a balsa wood sandwich!

the fin is just a titch heavier but not much in terms fo the overall weight of the rocket. after the glue set it was clear that it was not coming apart and would stand up to lots of abuse. much better!

but what to do about that sharp tin edge? why a little duct tape, of course!

DIY rocket repair! VI.

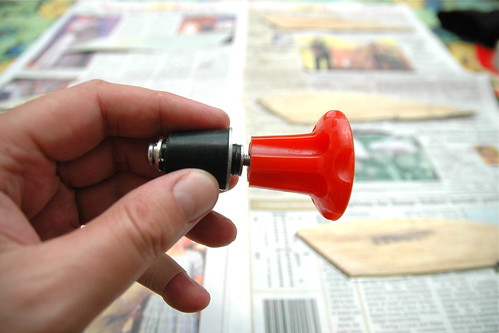
while we were repairing the fins we also thought we’d improve on the design of the stopper which fits in the business end of the pop bottle. you insert the stopper and crank down on the red thing a few times which makes the stopper more squat, increases the resistance, and prevents premature ejection ( thus allowing gas from the baking soda and vinegar reaction to build up with explosive results ).

the problem is the fancy red plastic thing quickly became stripped, preventing you from really cranking down on it and, therefore, preventing a super stellar launch.

DIY rocket repair! VII.

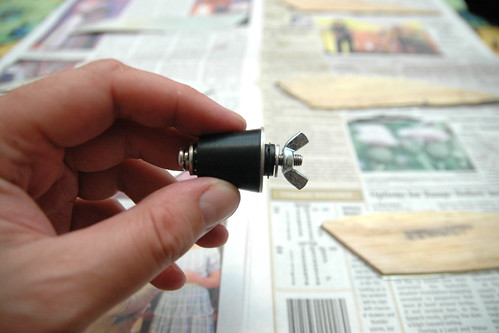
The Solution? a 19 cent wingnut!

DIY rocket repair! VIII.

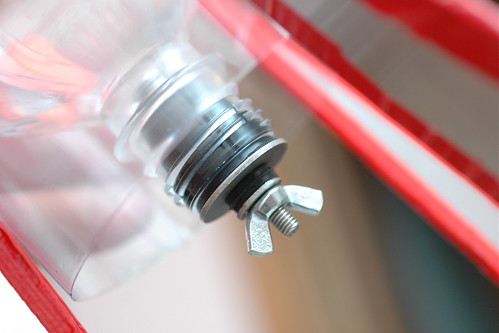
[ insert gratuitous macro shot of new and improved stopper assembly here ]

DIY rocket repair! IX.

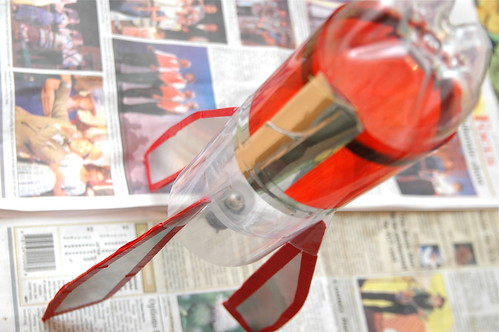
refurbed and ready for lift-off! note the color coordinated duct tape. a nice touch i think 🙂

unfortunately we ran out of time to actually launch the the rocket – so stay tuned!

how do you remove a critter from an inaccessible section of a roof?


kris heard something shuffling around the ceiling of our “mud room” and, sure enough, upon further investigation of the back of the house it appears that a critter has destroyed a section of weather damaged wooden soffit and made made a home in the airspace of the flat roof above the room which, inconveniently, is inaccessible by any normal means.

i vaguely recall squirrels don’t like the smell of ammonia so i thought i’d try soaking some old socks in the nasty smelling stuff even though a googling seems inconclusive regarding it’s effect as an a deterrent. and i guess even if i put some sopping socks up in the hole, i’ll have a hard time knowing if any and all critters have vacated before patching up the holes.

so, how do i force the critter(s) out ( assuming the ammonia doesn’t work ) and guarantee they’re all gone before patching up the hold?


after removing the soffit i could clearly see that critter had chewed through the structural support leading to the airspace between the ceiling and the roof ( as you can see, there’s also some wiring from what was presumably an above-ground electrical line running from the house to the garage ). curiously, it doesn’t look like a new hole. regardless, it looks big enough for a squirrel but not large enough for a raccoon or an opossum.

assuming it’s not a large-ish animal that could do a lot of damage trying to get out, i suppose i could just cover up the hole and let it die slowly and inhumanely. but that doesn’t seem right.

what to do?

on the risks and rewards of tinkering with a jigsaw.


i’m trying to finish the nesting boxes for the chicken coop and really, really need a jigsaw to finish the job but i broke the collet on my jigsaw by applying too much force on a dull blade when i was building the coop.

the tinkerer in me can’t resist taking the think apart to see if i can wrench the broken collet back together and hold a blade.

the statistician in me is trying to calculate the risk/benefit of a repair that could save me a few bucks or send lethal blades flying at any moment.

either way, odin thinks it’s awesomely cool that i even know how to take a jigsaw apart, though, i’m not sure he’s convinced i can fix it.